 Tweet
Tweet
Flash Wizard Configuration & Backup
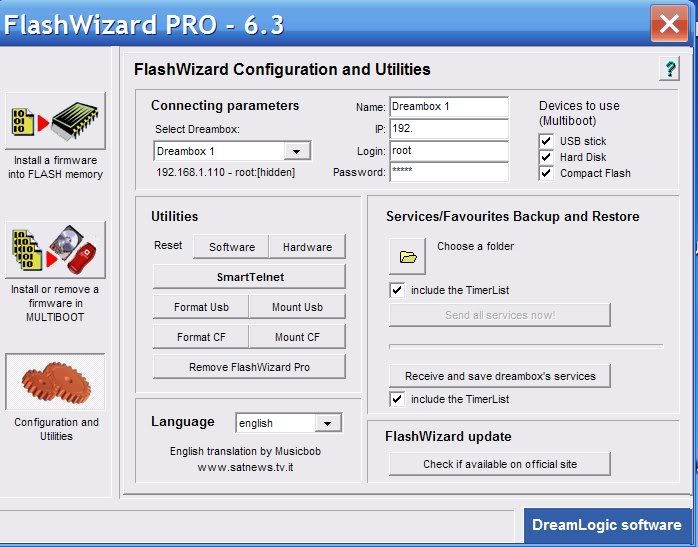
1. Start FlashWizard and click on the Configuration & Utilities Icon.
2. Under Connection Parameters fill in your Dreambox IP and your username and password. Root-eagle if you have left them as standard.
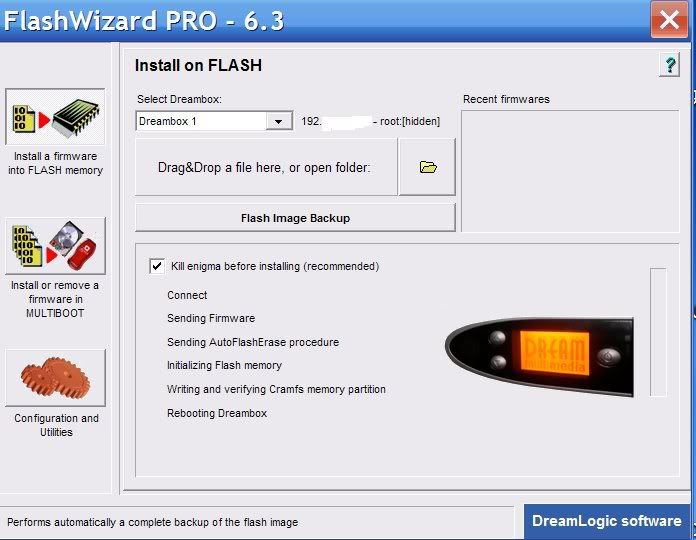
3. Now select the Install a firmware into flash memory.
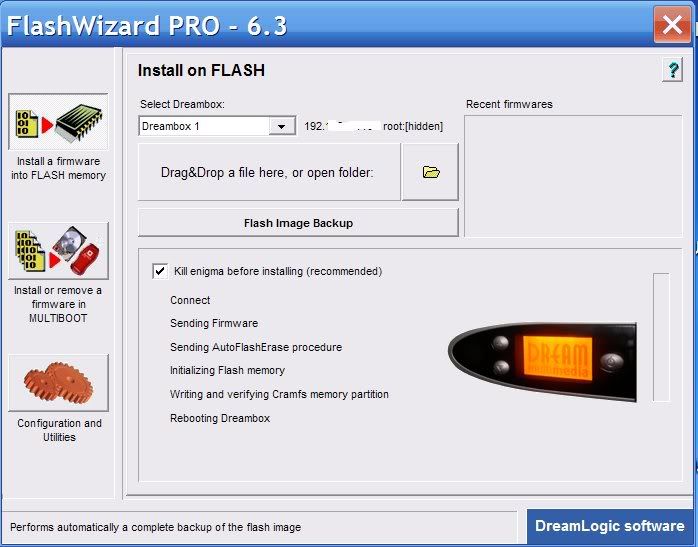
4. Click on Flash Image Backup but rather than selecting a firmware to flash give your image a name in filename box and click save.
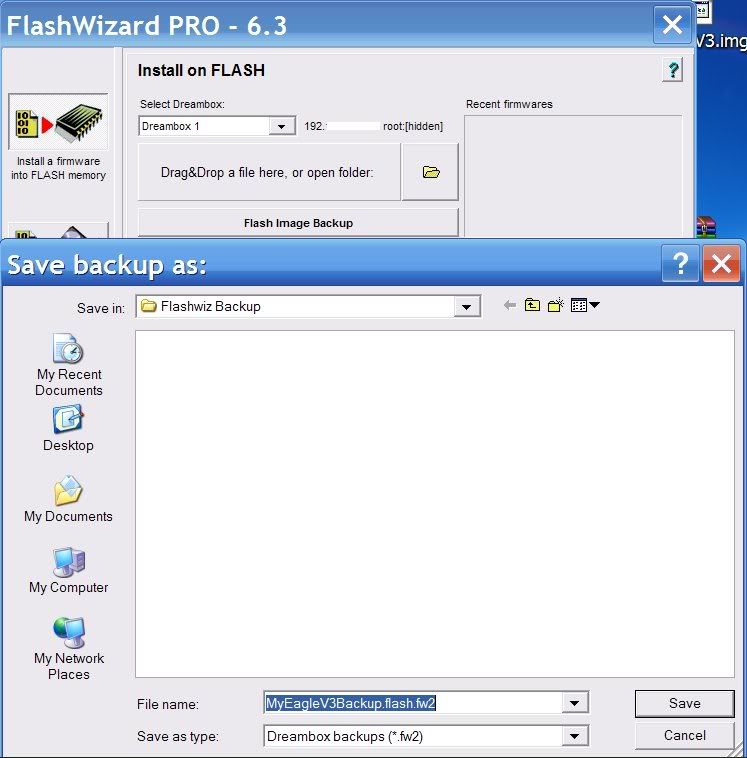
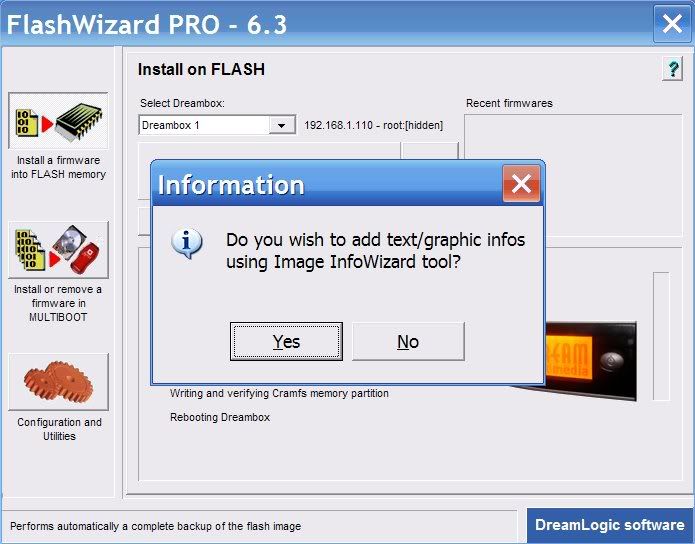
5. Select no at the insert text and graphics prompt.
6. Backup will now start.
Restore a Image with Flashwizard
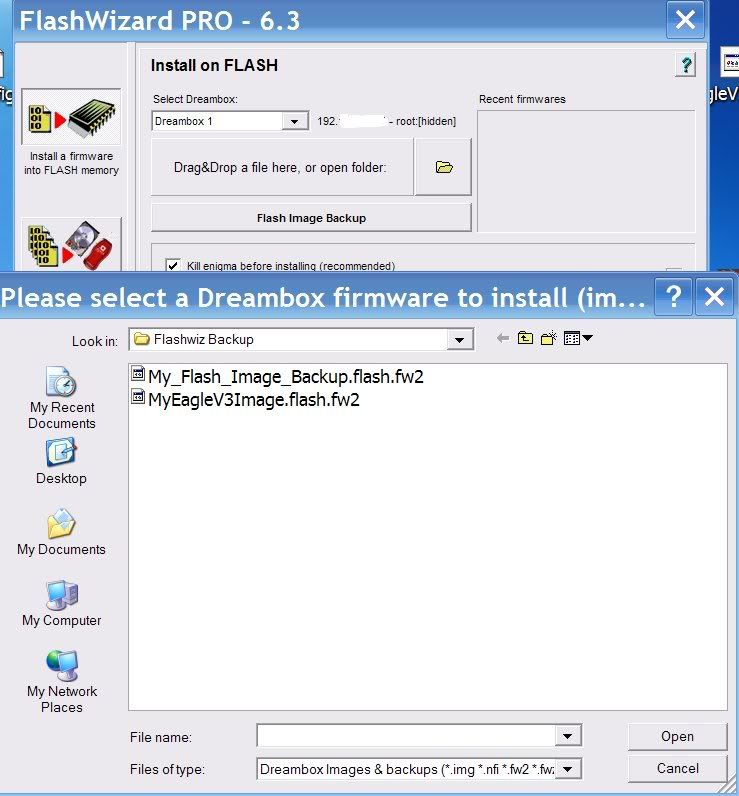
1. Open FlashWizard and click on the install a firmware into flash memory tab.
2. Now click the folder icon and select your Backup image and click open.
3. Select yes at the prompt.
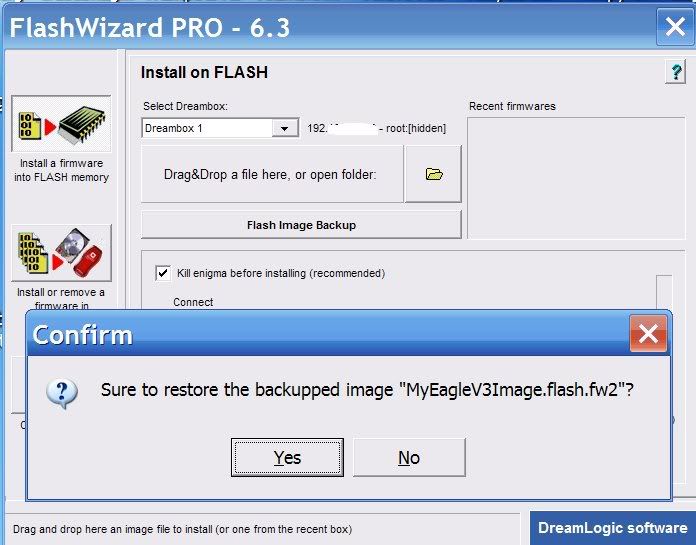
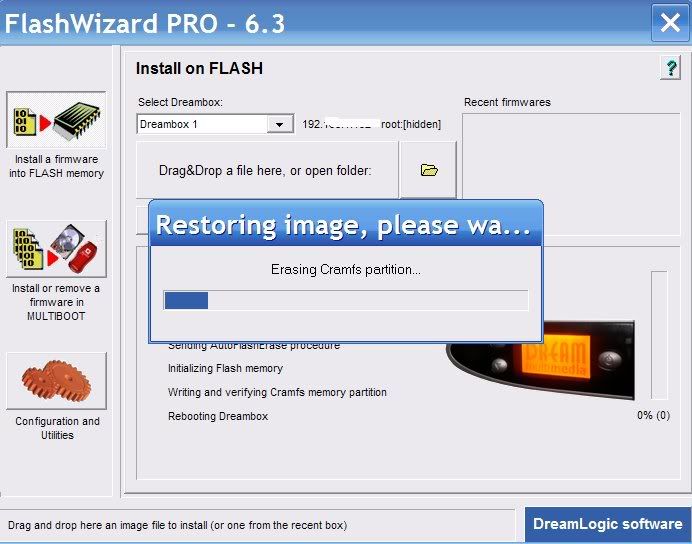
4. Restoring Image now starts.
5. Job done, just leave your Dreambox for 2-3 imns and then power down and power up.
1. Start FlashWizard and click on the Configuration & Utilities Icon.
2. Under Connection Parameters fill in your Dreambox IP and your username and password. Root-eagle if you have left them as standard.
3. Now select the Install a firmware into flash memory.
4. Click on Flash Image Backup but rather than selecting a firmware to flash give your image a name in filename box and click save.
5. Select no at the insert text and graphics prompt.
6. Backup will now start.
Restore a Image with Flashwizard
1. Open FlashWizard and click on the install a firmware into flash memory tab.
2. Now click the folder icon and select your Backup image and click open.
3. Select yes at the prompt.
4. Restoring Image now starts.
5. Job done, just leave your Dreambox for 2-3 imns and then power down and power up.